

18 min read
Are you tired of your soap slipping off the sink or leaving a messy residue everywhere? Installing soap dish hardware can solve that problem quickly and easily.
With the right tools and a few simple steps, you can have a neat, secure spot for your soap that keeps your bathroom tidy and your soap lasting longer. In this guide, you’ll discover everything you need to know to install soap dish hardware like a pro—even if you’ve never done it before.
Ready to transform your bathroom and make your daily routine smoother? Let’s get started!

Credit: www.amazon.com
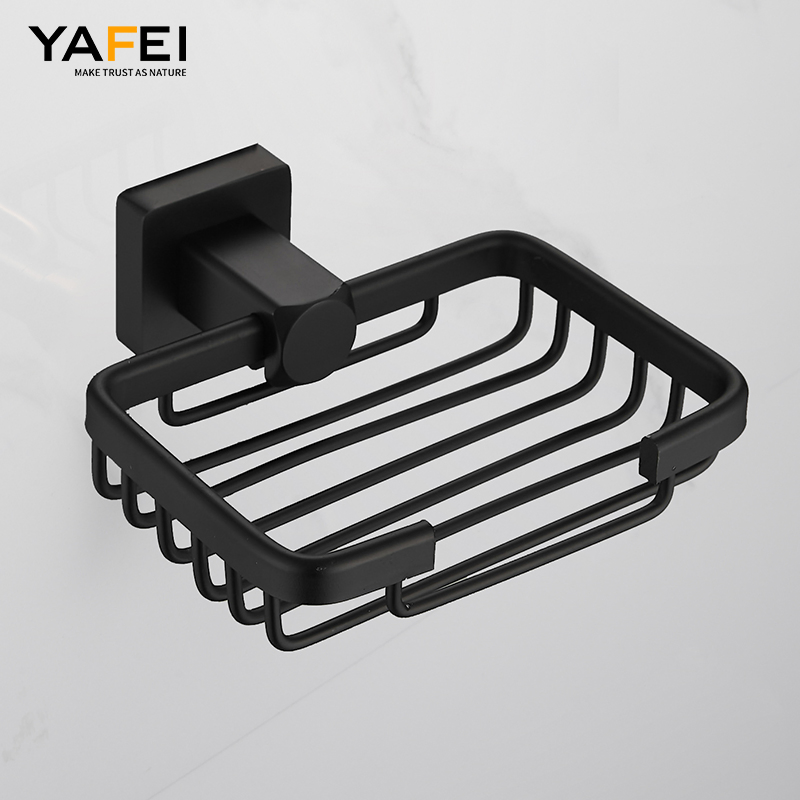
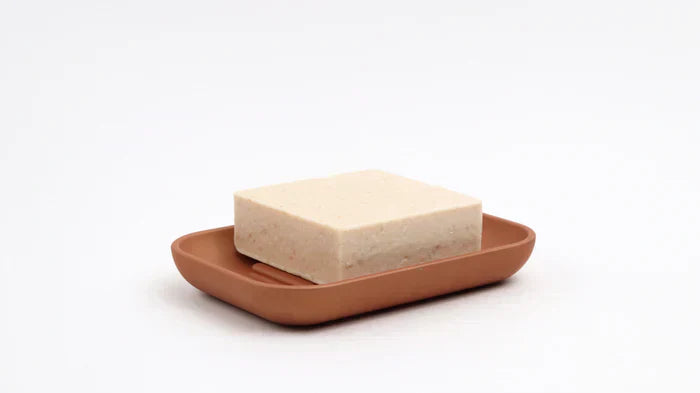
Choosing The Right Soap Dish
Picking the right soap dish helps keep your bathroom tidy. It also adds style and convenience.
Consider the type, material, size, and style before buying a soap dish. This guide will help you choose.
Types Of Soap Dishes
Soap dishes come in many types. Some hold bars, while others work for liquid soap.
- Wall-mounted soap dishes save counter space.
- Freestanding dishes can be moved easily.
- Drainage soap dishes keep soap dry longer.
- Soap holders with covers protect soap from dust.
Materials And Finishes
Soap dishes come in many materials. Choose one that matches your bathroom’s look and durability needs.
- Ceramic soap dishes are classic and easy to clean.
- Stainless steel lasts long and resists rust.
- Plastic options are lightweight and budget-friendly.
- Glass adds a modern, elegant touch.
- Wood offers a natural and warm feel but needs care.
Size And Style Considerations
Size matters for soap dishes. Pick one that fits your soap and bathroom space well.
Choose a style that matches your bathroom theme. Simple shapes suit modern looks. Detailed designs fit classic styles.
- Small soap dishes fit compact spaces.
- Large dishes hold bigger soap bars or multiple soaps.
- Round shapes look soft and inviting.
- Square shapes feel clean and modern.
Tools And Materials Needed
Installing soap dish hardware is a simple task with the right tools. It helps keep your bathroom organized and clean.
This guide lists all the tools and materials you need before starting the installation.
Essential Tools
You need a few basic tools to install soap dish hardware correctly. These tools help you measure, drill, and secure the hardware safely.
- Electric drill with drill bits
- Screwdriver (flathead and Phillips)
- Measuring tape or ruler
- Level tool to ensure straight placement
- Pencil for marking spots
- Wall anchors (if mounting on drywall)
Hardware Components
Soap dish hardware comes with several parts. Knowing each piece helps you install it properly.
- Soap dish holder bracket
- Mounting screws
- Wall anchors for extra support
- Soap dish tray or cup
- Decorative covers or caps to hide screws
Safety Gear
Safety is important when using tools. Wearing gear protects you from injuries during installation.
- Safety goggles to protect your eyes
- Work gloves for hand protection
- Dust mask if drilling creates dust
- Closed-toe shoes to protect your feet
Preparing The Mounting Surface
Before installing your soap dish hardware, prepare the mounting surface well. This helps the soap dish stick firmly and last longer.
Proper surface preparation prevents damage and keeps the installation safe. Follow these steps carefully.
Cleaning And Drying
Start by cleaning the wall where you will mount the soap dish. Remove dust, dirt, and grease for better grip.
Use a mild cleaner and a soft cloth. After cleaning, dry the area completely with a towel.
Checking Wall Material
Check what type of wall you have. Different walls need different mounting methods and tools.
Common wall types include tile, drywall, and concrete. Knowing this helps you choose the right anchors or screws.
- Tile walls may require special drill bits.
- Drywall needs anchors for support.
- Concrete walls need heavy-duty anchors.
Marking The Placement
Decide where to place the soap dish on the wall. Mark the spots for screws or anchors clearly.
Use a pencil and a level to ensure the soap dish will be straight and at a good height.
- Hold the soap dish against the wall.
- Mark holes with a pencil through the mounting points.
- Check marks with a level for straightness.
Installing Wall Anchors
Wall anchors hold your soap dish securely on the wall. They support the weight and keep it stable.
Using the right anchors makes your installation strong and safe. Let’s look at how to install them properly.
Choosing Anchor Types
Pick anchors that fit your wall type and soap dish weight. Different walls need different anchors.
- Plastic anchors work well for drywall and light loads.
- Metal anchors hold better in plaster or drywall.
- Toggle bolts are best for hollow walls with heavy items.
- Masonry anchors fit brick or concrete walls.
Drilling Pilot Holes
Drill small holes before inserting anchors. Pilot holes guide the anchors and stop wall damage.
Use a drill bit that matches the anchor size. Drill straight into the wall at the marked spot.
- Mark the exact spot for the anchor.
- Choose drill bit size matching anchor diameter.
- Drill slowly and keep the drill steady.
- Clear dust from the hole before inserting the anchor.
Inserting Anchors Properly
Push anchors fully into the pilot hole. They must fit tight to support the screws well.
Use a hammer gently if needed. Do not force the anchor to avoid breaking it or the wall.
- Align the anchor with the hole.
- Push or tap gently until flush with the wall.
- Check anchor is secure and does not spin.
- Insert screws into anchors to hold the soap dish.
Attaching The Soap Dish Bracket
Installing a soap dish bracket is a simple task that adds convenience to your bathroom. The bracket holds the soap dish securely on the wall.
This guide will help you attach the soap dish bracket correctly and safely.
Aligning The Bracket
Place the bracket where you want the soap dish to hang. Make sure it is level and at a comfortable height.
Use a pencil to mark the screw holes on the wall for accurate placement.
- Hold the bracket flat against the wall
- Check if it is straight with a level tool
- Mark holes with a pencil for drilling
Securing Screws
Drill holes at the marked points to fit wall anchors if needed. Anchors help hold screws firmly in place.
Insert screws through the bracket holes and tighten them into the wall or anchors.
- Use a drill to make holes for anchors
- Insert anchors if the wall is drywall or tile
- Screw in the screws until tight but not over-tightened
Ensuring Stability
Check the bracket to see if it is firmly attached. It should not move or wobble when you apply light pressure.
If the bracket feels loose, tighten the screws or add stronger anchors.
- Push gently on the bracket to test stability
- Tighten screws if there is any movement
- Use stronger anchors for better support if needed
Mounting The Soap Dish
Mounting a soap dish correctly keeps it secure and easy to use. This guide explains how to fit the soap dish onto the bracket and make final adjustments.
Following these steps helps your soap dish stay in place and look neat in your bathroom.
Fitting The Soap Dish Onto Bracket
First, align the soap dish with the bracket on the wall. Make sure the dish matches the shape of the bracket.
Gently slide or place the soap dish onto the bracket until it fits snugly.
- Hold the soap dish close to the bracket
- Match any grooves or hooks on both parts
- Push or slide the soap dish firmly into place
Tightening Set Screws
After fitting, locate the set screws on the bracket. These screws keep the soap dish from moving.
Use a suitable screwdriver or Allen key to tighten the screws. Turn them slowly until the soap dish feels stable.
- Find the small screws on the bracket
- Use the right tool to avoid damage
- Tighten screws just enough to hold the dish firmly
Final Adjustments
Check the soap dish position to ensure it is level and comfortable to reach. Adjust slightly if needed.
Wipe the dish and bracket clean to remove any fingerprints or dust from installation.
- Test the soap dish by placing soap on it
- Make small shifts if it feels loose or tilted
- Clean the area for a neat look
Maintenance Tips
Keeping your soap dish hardware in good shape helps it last longer. Regular care prevents damage and keeps it looking nice.
Follow simple maintenance steps to avoid common problems. This guide covers cleaning, tightening, and water protection tips.
Cleaning The Soap Dish
Clean your soap dish often to stop soap scum buildup. Use mild soap and warm water to avoid damage.
Dry the soap dish after cleaning to prevent water spots and mold growth. Avoid harsh chemicals that can ruin the finish.
- Use soft cloth or sponge for cleaning
- Rinse thoroughly with warm water
- Dry completely with a soft towel
- Clean weekly to prevent buildup
Checking For Loose Hardware
Check the soap dish hardware regularly. Loose screws can cause the soap dish to fall or wobble.
Tighten any loose screws with a screwdriver. If screws are missing, replace them with the right size.
- Inspect screws once a month
- Tighten screws gently to avoid stripping
- Replace damaged screws immediately
- Test stability after tightening
Preventing Water Damage
Water damage can weaken the soap dish mount and wall. Keep the area dry to stop damage from happening.
Use a waterproof sealant around the soap dish base if needed. Fix leaks or drips near the soap dish quickly.
- Wipe water off after each use
- Apply sealant to joints and edges
- Check for leaks in nearby plumbing
- Avoid letting water pool under the soap dish
Credit: roushardware.com

Credit: www.ebay.co.uk
Frequently Asked Questions
How Do I Install Soap Dish Hardware On Tile Walls?
Use a drill with a masonry bit to create holes. Insert anchors, then screw the soap dish hardware securely in place.
What Tools Are Needed For Soap Dish Hardware Installation?
You need a drill, screwdriver, level, measuring tape, anchors, and screws for proper installation.
Can I Install A Soap Dish Without Drilling Holes?
Yes, use adhesive mounting options designed for soap dishes on smooth, clean surfaces without drilling.
How High Should Soap Dish Hardware Be Installed?
Install the soap dish at a comfortable arm’s reach, typically 48 to 52 inches from the floor.
Conclusion
Installing soap dish hardware is simple with the right steps. Start by gathering your tools and materials. Follow each step carefully for a secure installation. Remember to choose a location that’s convenient for use. Ensure the surface is clean and dry before attaching the dish.
Double-check your work for a firm hold. A well-installed soap dish adds functionality to your bathroom. It also keeps your space tidy and organized. Enjoy the convenience of having soap within easy reach. With patience and care, your soap dish will serve you well for years.

