

19 min read
Are you worried about unexpected water leaks causing damage in your home or business? Installing leak-stop valves could be the simple solution you need to protect your property and save money on costly repairs.
Imagine having a system that automatically shuts off water the moment a leak is detected. Sounds like peace of mind, right? You’ll discover how easy it is to install these valves yourself, the benefits they bring, and why they are a smart investment for anyone who values safety and convenience.
Keep reading to learn how you can take control and prevent leaks before they become disasters.
Why Leak-stop Valves Matter
Water leaks can cause big damage to homes. Leak-stop valves help prevent this damage.
These valves stop water flow when a leak is detected. This saves money and stress.
Common Causes Of Water Damage
Water damage often comes from broken pipes or old plumbing. Small leaks can grow into big problems.
Other causes include appliance failures and clogged drains. Floods and heavy rain can also cause leaks.
- Cracked or burst pipes
- Faulty washing machines or dishwashers
- Leaking water heaters
- Clogged or broken drains
- Heavy rain or flooding
How Leak-stop Valves Work
Leak-stop valves detect unusual water flow or pressure changes. They close automatically to stop leaks.
Some valves use sensors, while others rely on mechanical triggers. They act fast to reduce damage.
- Detect water flow changes
- Automatically shut off water supply
- Use sensors or mechanical parts
- Prevent water from spreading
Benefits Of Installing Leak-stop Valves
Leak-stop valves protect homes from costly water damage. They give peace of mind to homeowners.
These valves reduce insurance claims and repair costs. They help keep your home safe and dry.
- Prevent major water damage
- Lower repair and insurance costs
- Provide quick leak detection
- Increase home safety and value
Types Of Leak-stop Valves
Leak-stop valves help protect your home from water damage. They shut off water flow when a leak is detected.
There are different types of leak-stop valves. Each type works in its own way to stop leaks quickly.
Automatic Vs Manual Valves
Automatic valves close by themselves when a leak is found. Manual valves need you to turn them off.
Automatic valves work fast and do not need your attention. Manual valves cost less but need quick action.
- Automatic valves:Detect leaks and shut off water automatically
- Manual valves:You turn off the water by hand
Smart Leak-stop Systems
Smart systems use sensors to spot leaks early. They can send alerts to your phone.
These systems often connect with automatic valves. They add extra protection for your home.
- Detect leaks fast with sensors
- Send alerts to your phone or device
- Work with automatic valves to stop water flow
Choosing The Right Valve For Your Home
Think about your home size and water system. This helps pick the best valve type.
Automatic valves suit busy homes. Manual valves work for simple setups and low budget.
- Choose automatic for fast leak response
- Pick manual if you want a lower cost option
- Consider smart systems for extra leak alerts
- Match the valve size to your water pipes
Tools And Materials Needed
Installing leak-stop valves requires the right tools and materials. Using the proper items makes the job easier and safer.
This guide covers what tools, materials, and safety gear you need to install leak-stop valves correctly.
Essential Tools For Installation
You need some basic tools to install leak-stop valves. These tools help you cut, connect, and secure the valves properly.
- Pipe cutter or hacksaw
- Adjustable wrench or pipe wrench
- Plumber’s tape (Teflon tape)
- Measuring tape
- Pipe deburring tool or sandpaper
- Marker or pencil for marking pipes
- Screwdriver set
Materials Checklist
Besides tools, you need specific materials for the valve installation. Make sure you have these before you start.
- Leak-stop valves suitable for your pipe type
- Pipe fittings like elbows or couplings
- Pipe sealant or joint compound
- Replacement pipe sections if needed
- Cleaning cloth or rag
Safety Gear And Precautions
Safety is important during installation. Wearing the right gear protects you from injuries and accidents.
- Safety gloves to protect your hands
- Safety goggles to shield your eyes
- Long sleeves and pants to cover skin
- Work boots with good grip
- Work in a well-ventilated area

Credit: www.stevejenkins.com
Step-by-step Installation Process
Installing a leak-stop valve can protect your home from water damage. Follow these simple steps to fit the valve correctly.
This guide covers how to find your water supply, prepare pipes, install the valve, and check for leaks.
Locating The Main Water Supply
Find the main water supply to shut off water before installation. Usually, it is near your water meter or where the water line enters your home.
Look for a valve with a round handle or a lever. It controls the water flow to your house.
Shutting Off Water And Preparing Pipes
Turn off the main water supply completely. Open faucets inside your home to drain any remaining water.
Clean the pipe where you will install the valve. Remove rust, dirt, and old sealant to ensure a tight fit.
- Turn off the main water valve
- Open faucets to drain pipes
- Use a wire brush to clean the pipe
- Dry the pipe surface completely
Installing The Valve Correctly
Place the leak-stop valve in the correct direction. Most valves have an arrow showing the water flow direction.
Attach the valve to the pipe using the recommended fittings. Tighten all connections firmly but avoid over-tightening.
- Check valve flow direction
- Use pipe sealant or tape on threads
- Hand-tighten fittings first
- Use a wrench to secure fittings
Testing For Leaks And Functionality
Turn the main water supply back on slowly. Watch the valve and pipe connections for any leaks.
Open faucets to let air escape and check that water flows properly through the valve.
- Turn water supply on gradually
- Inspect valve and joints for leaks
- Open several faucets to release air
- Confirm water flows without dripping
Maintenance Tips For Leak-stop Valves
Leak-stop valves help prevent water damage by stopping leaks quickly. Keeping these valves in good shape is very important.
Regular maintenance ensures the valves work properly and last longer. Follow simple steps to care for your leak-stop valves.
Regular Inspection Routines
Check your leak-stop valves often to find problems early. Look for signs of wear, corrosion, or damage on the valve and pipes.
Inspect the area around the valve for leaks or moisture. Test the valve to make sure it closes and opens smoothly.
- Look for cracks or rust on the valve body
- Check seals and connections for leaks
- Test valve operation monthly
- Listen for unusual sounds during valve use
Cleaning And Servicing
Clean valves regularly to keep dirt and debris from blocking them. Use a soft brush or cloth to remove buildup on the valve surface.
Lubricate moving parts as needed with a product safe for plumbing parts. Servicing helps the valve work smoothly and prevents damage.
- Turn off water supply before cleaning
- Remove visible dirt gently
- Use lubricant on valve handle and hinges
- Avoid harsh chemicals that can damage parts
When To Replace Your Valve
Replace your leak-stop valve if it no longer works well or shows serious damage. Old valves may fail to stop leaks.
Signs to replace include leaks, broken parts, or valves that stick and do not open or close fully.
- Valve leaks even after repair attempts
- Corrosion has weakened the valve body
- Valve handle is broken or stuck
- Valve does not stop water flow properly
Credit: www.youtube.com
Troubleshooting Common Issues
Installing leak-stop valves helps protect your home from water damage. Sometimes, these valves face common problems.
Knowing how to troubleshoot can save time and avoid costly repairs. Let’s review some frequent issues and fixes.
Valve Not Closing Properly
A valve that does not close can cause leaks or water waste. Dirt or debris often blocks the valve.
Check for buildup around the valve and clean it. Also, inspect the valve’s mechanical parts for damage or wear.
- Turn off water supply before cleaning
- Remove debris carefully with a soft brush
- Replace worn or broken parts as needed
False Alarms And Sensor Problems
Sensors may trigger alarms without real leaks. Dust, humidity, or poor sensor placement can cause false alarms.
Clean sensors regularly and place them where water is most likely to appear. Test sensors to ensure they work well.
- Keep sensors dry and dust-free
- Avoid placing sensors near sinks or showers
- Test sensors monthly for accurate detection
Water Pressure Concerns
Low or high water pressure can affect valve performance. Too much pressure may damage the valve or cause leaks.
Check your home’s water pressure and install a pressure regulator if needed. Make sure the valve suits your pressure range.
- Test water pressure with a pressure gauge
- Use pressure regulators for high pressure
- Replace valves that do not match pressure needs
Cost And Installation Considerations
Installing leak-stop valves helps protect your home from water damage. It is important to understand the costs involved. Also, consider how the valves are installed.
Knowing the price and installation options will help you make a smart choice. This guide covers key points about budgeting, installation, and savings.
Budgeting For Your Leak-stop Valve
Leak-stop valves vary in price depending on brand and features. Basic models cost less, while advanced ones are pricier.
Besides the valve, you should budget for installation supplies and possible repairs. Setting aside extra funds is wise.
- Basic valve price range: $50 to $150
- Advanced valve price range: $150 to $300
- Installation supplies: $20 to $50
- Extra budget for unexpected repairs
Diy Vs Professional Installation
You can install leak-stop valves yourself or hire a professional. DIY saves money but needs some plumbing skills.
Professionals ensure correct installation and may spot issues you miss. They charge for labor, which adds to total cost.
- DIY installation: Lower cost, requires tools and skills
- Professional installation: Higher cost, expert work
- Check local codes to see if professional installation is required
- Professional work may come with a warranty
Long-term Savings And Insurance Benefits
Leak-stop valves help avoid costly water damage repairs. They can save money over time by preventing leaks.
Some insurance companies may lower your premiums if you install leak protection. This adds extra value to your investment.
- Reduce risk of water damage repairs
- Lower home insurance premiums possible
- Protect your home’s value
- Save money on emergency plumbing calls
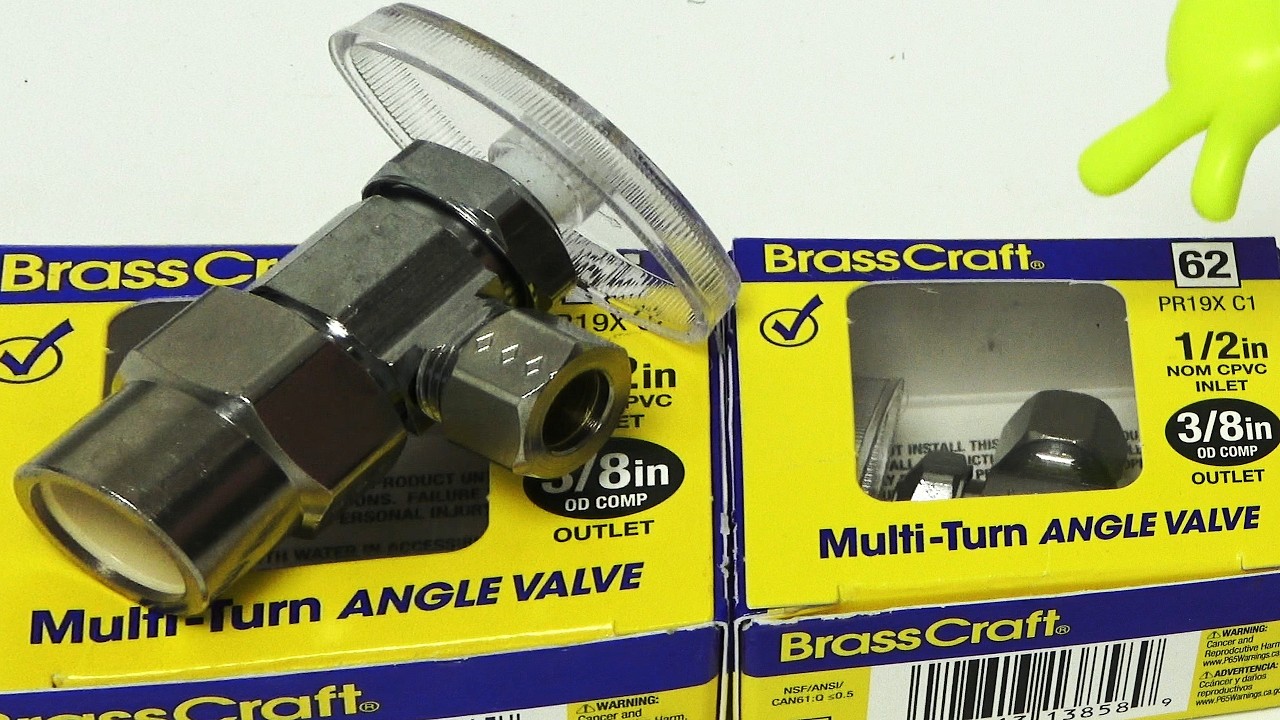
Credit: www.youtube.com
Frequently Asked Questions
What Is A Leak-stop Valve And How Does It Work?
A leak-stop valve automatically shuts off water flow when it detects leaks. It prevents water damage by stopping leaks early. This valve is essential for protecting homes and businesses from costly water damage.
Why Should I Install A Leak-stop Valve?
Installing a leak-stop valve helps save water and reduce damage. It provides peace of mind by detecting leaks quickly. It also lowers repair costs and protects your property efficiently.
How Do I Install A Leak-stop Valve Correctly?
To install, turn off the main water supply first. Connect the valve to the main water line using proper fittings. Follow manufacturer instructions carefully to ensure a secure and leak-free installation.
Can Leak-stop Valves Fit Any Plumbing System?
Most leak-stop valves are compatible with standard plumbing systems. However, check valve size and type before purchasing. Proper compatibility ensures effective leak detection and shut-off performance.
Conclusion
Installing leak-stop valves is a smart choice for your home. These valves prevent costly water damage. They work by stopping leaks quickly. Installation is simple and affordable. You gain peace of mind knowing your home is protected. Maintenance is minimal, saving you time.
Leak-stop valves are available at most hardware stores. They suit different plumbing systems. Choose a valve that fits your needs. Always check for compatibility. Ensure you follow instructions closely for best results. Enjoy a safer, more secure home today.

