

13 min read
Are you tired of a weak or dripping shower head that ruins your daily routine? Replacing your shower head might seem tricky, but it’s easier than you think—and it can make a huge difference in your comfort and water savings.
Imagine stepping into a refreshing, powerful shower every morning without calling a plumber or spending a fortune. In this guide, you’ll discover simple, step-by-step instructions to replace your shower head quickly and confidently. Keep reading to transform your bathroom experience with just a few easy tools and a little know-how.
Tools And Materials Needed
Replacing a shower head is a simple task you can do yourself. You need some basic tools and the right materials.
Knowing what to prepare will make the job easier and faster. Let’s look at the tools and how to pick a shower head.
Essential Tools
Use these tools to remove the old shower head and install the new one. Most are common household items.
- Adjustable wrench to loosen and tighten fittings
- Plumber’s tape to seal pipe threads and prevent leaks
- Soft cloth to protect the shower arm from scratches
- Old toothbrush or small brush to clean threads
- Bucket or towel to catch water drips
Choosing The Right Shower Head
Pick a shower head that fits your shower arm and matches your needs. Check the size and connection type first.
Consider water flow rate and spray patterns to get the comfort you want. There are many styles available.
- Standard shower heads fit most arms and use 1/2-inch connections
- Low-flow models save water and reduce bills
- Handheld shower heads add flexibility and ease of use
- Fixed shower heads are simple and easy to install
- Look for materials like chrome or stainless steel for durability
Preparing For Replacement
Replacing a shower head is a simple task you can do yourself. Getting ready is important for a smooth process.
Gather tools and follow safety steps before you start. This guide will help you prepare well.
Turning Off The Water
First, you need to stop the water flow to the shower. This prevents leaks and water mess while you work.
Locate the water shut-off valve for your bathroom or whole house. Turn it off to stop the water.
- Find the main water valve or bathroom valve
- Turn the valve clockwise to close it
- Test the shower to confirm water is off
- If no valve, turn off the main water supply
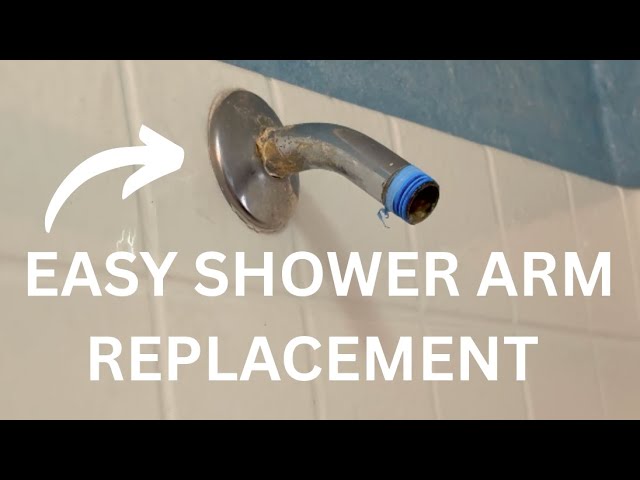
Removing The Old Shower Head
Next, remove the old shower head from the shower arm. This lets you install the new one easily.
Use a wrench or pliers to loosen the shower head. Turn it counterclockwise to unscrew it.
- Wrap a cloth around the shower head to avoid scratches
- Grip the shower head firmly with a wrench
- Turn left to unscrew the shower head
- Clean the threads on the shower arm before new installation
Installing The New Shower Head
Installing a new shower head is a simple task you can do yourself. It improves your shower experience and saves water.
Before attaching the new shower head, you need to prepare the pipe threads. This helps prevent leaks and ensures a tight fit.
Applying Plumber’s Tape
Wrap plumber’s tape around the shower arm threads. This tape seals the connection to stop water leaks.
Make sure to wrap the tape in the same direction as you will screw on the shower head. This keeps the tape tight.
- Start at the base of the threads
- Wrap the tape 2 to 3 times around
- Press the tape firmly onto the threads
- Cover all visible threads without overlap
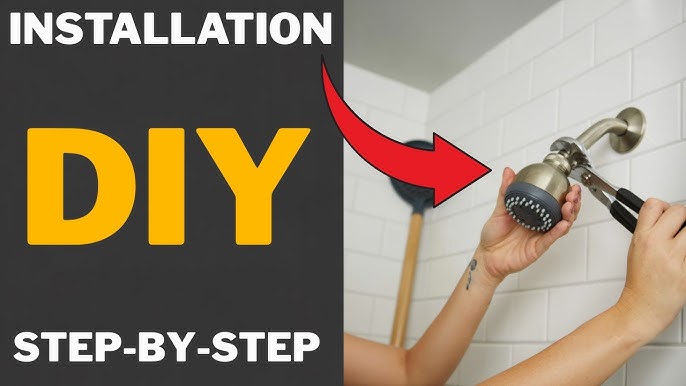
Attaching The New Shower Head
Now screw the new shower head onto the shower arm. Turn it clockwise until it fits snugly by hand.
Use a wrench or pliers to tighten it a little more. Do not over-tighten or you may damage the parts.
- Hand-tighten first
- Use a tool for a final quarter turn
- Check the shower head is secure and straight
- Turn on water and test for leaks
Credit: www.youtube.com
Testing And Adjusting
After installing a new shower head, it is important to test it. Testing ensures the shower works well. Adjusting helps you get the best spray.
This part of the process keeps your shower comfortable and leak-free. Take time to check everything carefully.
Checking For Leaks
Turn on the water and watch the shower head connection. Look closely for any water drops or drips.
If you see water leaking, turn off the water. Tighten the shower head or use plumber’s tape to seal gaps.
- Check the connection between the shower arm and head
- Use a cloth to dry and see if water appears again
- Apply plumber’s tape if leaks persist
- Tighten the shower head by hand, then use a wrench if needed
Adjusting Spray Settings
Many shower heads have different spray settings. Test each spray to find the one you like.
Turn the dial or move the lever on the shower head to switch sprays. Check for smooth changes and strong water flow.
- Start with the wide spray for full coverage
- Try the massage spray for focused water flow
- Use the mist setting for gentle water
- Choose the setting that feels best for daily use
Tips For Maintenance
Keeping your shower head clean helps water flow smoothly. Regular care stops build-up and damage.
Simple steps can keep your shower head working well for a long time.
Cleaning The Shower Head
Remove dirt and mineral deposits by cleaning the shower head often. This prevents clogging.
Use a mild solution to soak and scrub the shower head parts carefully.
- Fill a bag with white vinegar
- Attach the bag around the shower head
- Let it soak for 1-2 hours
- Remove the bag and scrub gently
- Rinse with warm water
Extending Its Lifespan
Check your shower head regularly for leaks or cracks. Fix small problems early to avoid big repairs.
Use a soft cloth to wipe the shower head after use. This keeps it dry and stops rust.
- Avoid using hard brushes or sharp tools
- Replace washers if you notice dripping
- Turn off water gently to reduce pressure
- Inspect and clean every 3 months
Credit: www.youtube.com
Credit: www.youtube.com
Frequently Asked Questions
How Do I Remove An Old Shower Head Safely?
Turn off the water supply first. Use a wrench to loosen the shower head. Turn counterclockwise gently. Protect fixtures with a cloth. Remove any old plumber’s tape before installing a new head.
What Tools Are Needed To Replace A Shower Head?
You typically need an adjustable wrench, plumber’s tape, and a cloth. These tools help remove the old head and install the new one without damage.
How Do I Prevent Leaks After Installing A Shower Head?
Wrap plumber’s tape tightly around the shower arm threads. Screw the new head on securely but avoid over-tightening. Check for leaks by running water and adjust if needed.
Can I Install A New Shower Head Without Professional Help?
Yes, most shower heads are designed for easy DIY installation. Basic tools and following instructions can help you replace it quickly and safely.
Conclusion
Replacing a shower head is simple and rewarding. With these steps, anyone can do it. Gather your tools and a new shower head. Follow the instructions carefully. Hand-tighten connections to avoid leaks. Check for any drips after installation. Enjoy your fresh shower experience.
Feel the difference in water flow. Save money on water bills, too. A new shower head can enhance your bathroom’s look. Your effort pays off with each refreshing shower. Ready to tackle more home projects? Keep learning and exploring. Your bathroom upgrade awaits you.
Happy showering!

