19 min read
Are you tired of that constant drip or the slow fill in your toilet tank? Installing fill valve hardware might be the simple fix you need.
It’s a small job that can save you money on water bills and stop annoying noises. In this guide, you’ll find clear, step-by-step instructions to replace or install your fill valve easily—even if you’ve never done plumbing work before. Keep reading, and you’ll have your toilet running smoothly again in no time.
Tools And Materials Needed
Installing fill valve hardware is an important step in fixing or upgrading your toilet. You need the right tools and materials to do the job well and avoid leaks.
This guide covers the essential tools you will need and the types of fill valve hardware available.
Essential Tools
You need some basic tools to install fill valve hardware. These tools help you remove the old parts and fit the new ones securely.
- Adjustable wrench – to tighten or loosen nuts
- Screwdriver – to remove or secure screws
- Pliers – to grip and turn small parts
- Towel or sponge – to soak up water from the tank
- Bucket – to catch any water spills
Having these tools ready will make the installation faster and easier.
Types Of Fill Valve Hardware
Fill valve hardware comes in different types. Each type works well with certain toilet models and water pressures.
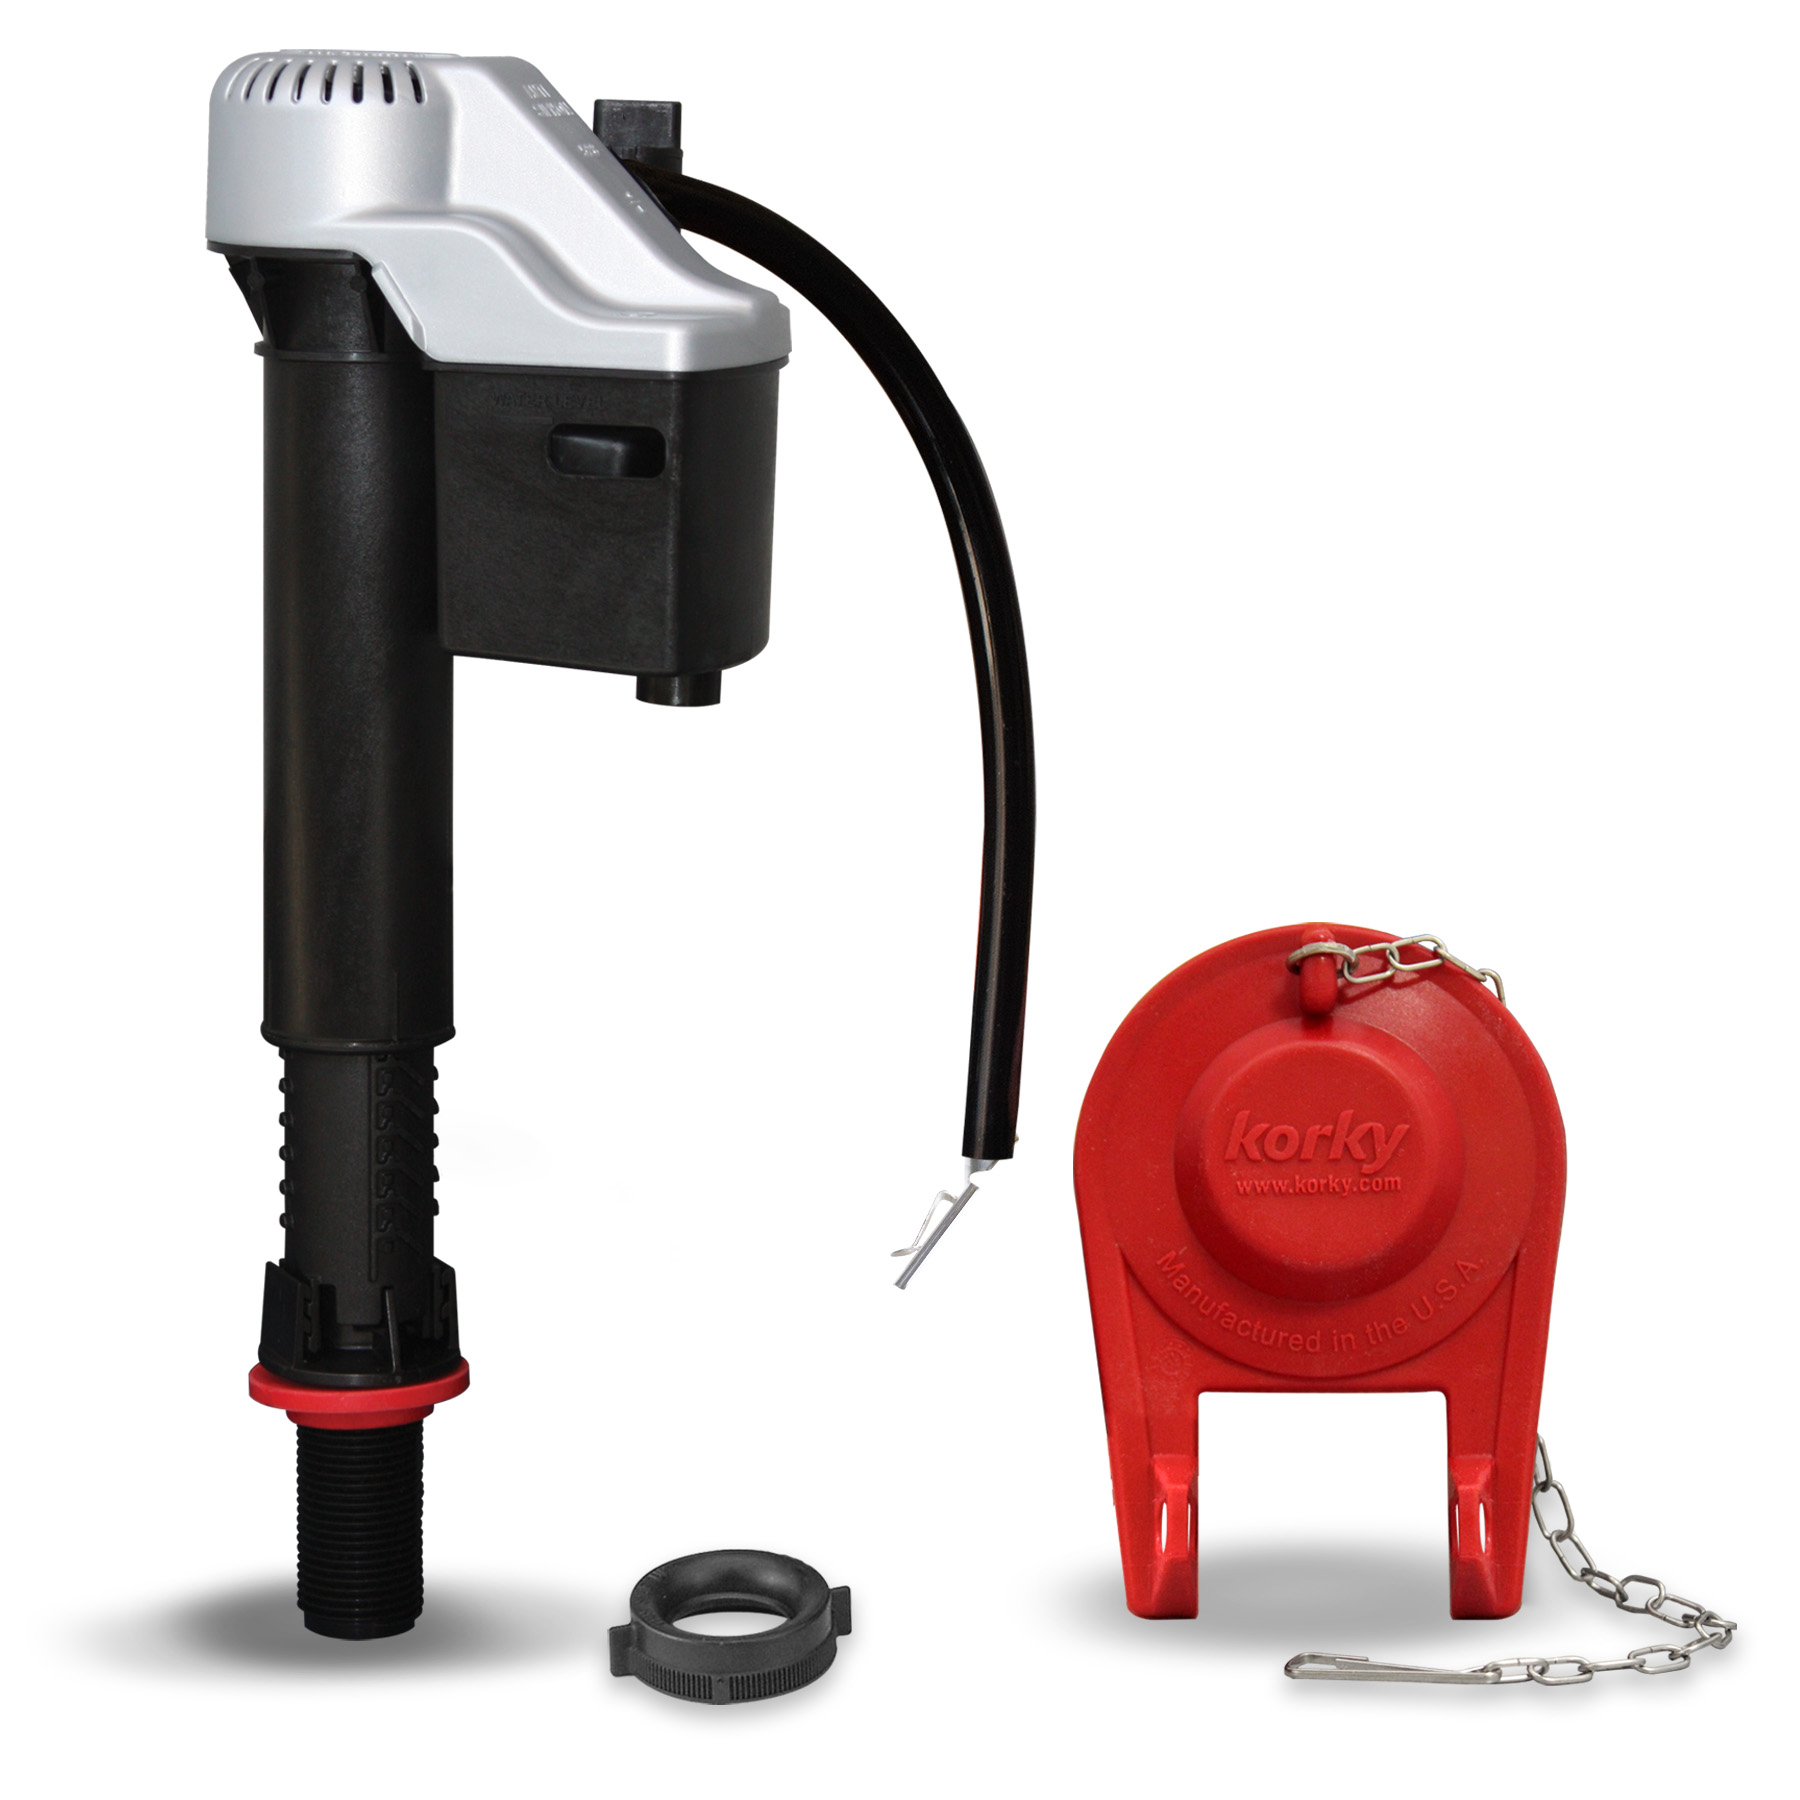
- Float Cup Fill Valve – uses a cup that moves up and down with water level
- Float Ball Fill Valve – uses a ball on an arm that rises and falls
- Canister Fill Valve – a compact design that fits inside the tank easily
- Pressure-Assist Fill Valve – for toilets with strong water pressure
Choose the right type for your toilet to ensure proper filling and prevent leaks.

Credit: www.korky.com
Preparing The Toilet Tank
Preparing the toilet tank is important before installing fill valve hardware. You need to make sure the tank is empty and ready for the new parts.
Doing this helps prevent water spills and makes the installation easier. Follow these steps to get your toilet tank ready.
Turning Off Water Supply
Find the water shut-off valve near the base of the toilet. Turn the valve clockwise to stop water flow into the tank.
Check that the water is off by trying to flush the toilet. The tank should not refill if the valve is closed properly.
- Locate the shut-off valve
- Turn it clockwise until tight
- Flush the toilet to confirm water stops
Draining The Tank
Flush the toilet to empty most of the water from the tank. Hold the flush lever down to remove as much water as possible.
Use a sponge or towel to soak up any leftover water at the bottom. This helps keep the work area dry and clean.
- Flush the toilet to drain water
- Hold the flush lever down fully
- Use a sponge to remove leftover water
Removing Old Fill Valve
Removing the old fill valve is necessary before installing a new one. This process helps fix leaks and improve toilet performance.
You need to turn off the water supply and carefully remove the existing fill valve. Follow these steps to remove it safely.
Disconnecting Water Line
First, turn off the water supply to the toilet. This stops water from flowing while you work.
Next, use a wrench to loosen the nut connecting the water supply line to the fill valve. Be gentle to avoid damage.
- Locate the shut-off valve near the toilet base
- Turn the valve clockwise to close it
- Place a bucket or towel under the connection
- Use an adjustable wrench to loosen the supply line nut
- Remove the water line from the fill valve
Unscrewing The Valve
After disconnecting the water line, unscrew the old fill valve from the toilet tank. This part holds the valve in place.
Turn the lock nut under the tank counterclockwise to remove the valve. You may need pliers or a wrench for this step.
- Reach under the tank and find the lock nut
- Use pliers or a wrench to turn it left
- Remove the old fill valve from the tank
- Check the tank opening for any leftover debris
Installing New Fill Valve
Installing a new fill valve in your toilet tank is simple. It helps control water flow into the tank.
Follow basic steps to place and secure the valve for proper function.
Positioning The Valve
Place the fill valve inside the tank so the base sits flat on the tank bottom. The valve should stand upright.
Make sure the valve’s refill tube points toward the overflow pipe. This helps water refill the bowl correctly.
- Check that the valve height fits the tank size
- Adjust the valve height if needed before securing
- Keep the refill tube above the overflow level
Securing The Valve In Place
Once positioned, secure the valve by tightening the locknut under the tank. Hand tighten first.
Use a wrench to gently tighten more, but do not overtighten. This prevents cracks in the tank.
- Hand tighten the locknut firmly
- Use adjustable wrench for an extra quarter turn
- Check for wobble and adjust if needed
- Reconnect the water supply line after securing
Connecting Water Supply
Connecting the water supply is a key part of installing fill valve hardware. It makes sure your toilet fills with water after each flush. You must connect it carefully to avoid leaks and water damage.
Use the right tools and check the parts before you start. This guide helps you connect the refill tube and tighten the supply line properly.
Attaching The Refill Tube
The refill tube sends water to the toilet bowl after flushing. Attach it securely to avoid splashing or leaks. The tube usually fits on a small nipple on the fill valve.
Push the refill tube onto the nipple until it fits tight. Make sure the other end goes into the overflow pipe inside the tank. This allows water to flow correctly.
- Find the refill tube and fill valve nipple
- Push the tube firmly onto the nipple
- Place the other end inside the overflow pipe
- Check the tube is not kinked or bent
Tightening The Supply Line
The supply line connects your water source to the fill valve. Tighten it to stop leaks. Use your hand first, then a wrench to secure it.
Do not overtighten the supply line. Too much force can damage parts or cause leaks. Tighten until snug and check for drips after turning on the water.
- Hand-tighten the supply line connection
- Use a wrench to turn an extra quarter turn
- Turn on water slowly to check for leaks
- Tighten more only if water drips

Credit: www.reddit.com
Adjusting Fill Valve Settings
Adjusting the fill valve is important for a well-working toilet. It controls the water level in the tank.
Correct settings help save water and avoid overflow problems. Let’s learn how to set it right.
Setting Water Level
The water level should be set below the overflow tube. This stops water from spilling out.
Look for the float on the fill valve. Move it up or down to change the water height.
- Lift the float to raise water level
- Lower the float to reduce water level
- Check the mark inside the tank for correct height
Testing The Valve Operation
After adjusting, flush the toilet to test the valve. Watch the water fill and stop at the set level.
Listen for noises or leaks. The valve should close quietly and stop filling at the right point.
- Flush the toilet once
- Observe water rise inside the tank
- Check if the water stops at the desired level
- Adjust float again if needed
Troubleshooting Common Issues
Installing fill valve hardware can sometimes cause problems. Knowing how to spot and fix these issues helps keep your toilet working well.
This guide covers two common problems: leaks and drips, and improper water level. Each section explains what to check and how to fix it.
Leaks And Drips
Leaks or drips near the fill valve often mean parts are loose or worn out. Water may drip from the valve or pool around the base.
Check the tightness of the fill valve nut under the tank. Also, inspect the washer for cracks or damage. Replace any broken parts.
- Tighten the lock nut carefully, but do not overtighten.
- Replace the washer if it looks old or cracked.
- Make sure the fill valve sits straight and seals properly.
- Clean any debris that may block valve seals.
Improper Water Level
The water level in the tank should be at the mark or about 1 inch below the overflow tube. Too high or low levels cause flushing problems.
Adjust the float on the fill valve to fix the water level. Most floats move up or down with a screw or clip.
- If the water is too high, lower the float to stop filling earlier.
- If the water is too low, raise the float to allow more water.
- Check the overflow tube height to set the correct water level.
- Test flush after adjusting to ensure proper filling.

Credit: www.amazon.com
Maintenance Tips
Installing fill valve hardware is only the first step. Regular care keeps it working well. Good maintenance helps prevent leaks and malfunctions.
Simple checks and cleaning can extend the valve’s life. It also saves water and avoids costly repairs.
Regular Inspection
Look at the fill valve often to find problems early. Check for cracks, leaks, or loose parts. Listen for unusual sounds in the toilet tank.
Check the water level and make sure it stays steady. If the water keeps running, the valve may need adjustment or replacement.
- Inspect valve connections for tightness
- Watch for water leaks around the valve
- Ensure the float moves freely without sticking
- Check the water level inside the tank
Cleaning The Valve
Dirt and minerals can build up on the valve parts. Cleaning stops blockages and keeps water flowing well. Turn off the water before cleaning.
Remove the valve cap and rinse it with clean water. Use a soft brush to clear any deposits. Avoid harsh chemicals that may damage the valve.
- Turn off water supply before cleaning
- Remove valve cap carefully
- Rinse parts with clean water
- Use a soft brush to remove buildup
- Reassemble and test the valve
Frequently Asked Questions
What Tools Are Needed For Installing Fill Valve Hardware?
You need an adjustable wrench, pliers, a screwdriver, and Teflon tape. These tools help secure connections and prevent leaks during installation.
How Do I Shut Off Water Before Installing A Fill Valve?
Turn off the water supply valve near the toilet base. Flush the toilet to empty the tank for safe installation.
How To Adjust Fill Valve Height Correctly?
Adjust the fill valve so the water level is about one inch below the tank rim. This prevents overflow and ensures proper flushing.
How To Prevent Leaks After Installing Fill Valve Hardware?
Tighten all connections securely but avoid overtightening. Use Teflon tape on threaded joints to ensure a watertight seal.
Conclusion
Installing fill valve hardware can be simple and rewarding. Follow the steps carefully. Use the right tools for the job. Ensure each part fits snugly. Avoid over-tightening to prevent leaks. Test the valve after installation. Listen for any unusual sounds.
Adjust as needed for optimal performance. Regular checks can prolong the valve’s life. Consider keeping a manual handy. It can guide you during unexpected issues. A well-installed fill valve ensures smooth toilet operation. Enjoy the satisfaction of a job well done.


