10 min read
Having a clean and tidy bathroom or kitchen is important. One way to keep your space neat is by using a pull-out trash bin. This bin hides inside your vanity cabinet. When you need to throw trash, you just pull it out. It saves space and looks good.
If you want to install a pull-out trash bin in your vanity, this guide will help you. We will explain the steps clearly. You do not need special tools or skills. Just follow the instructions, and you will do it yourself.
What Is a Pull-Out Trash Bin?
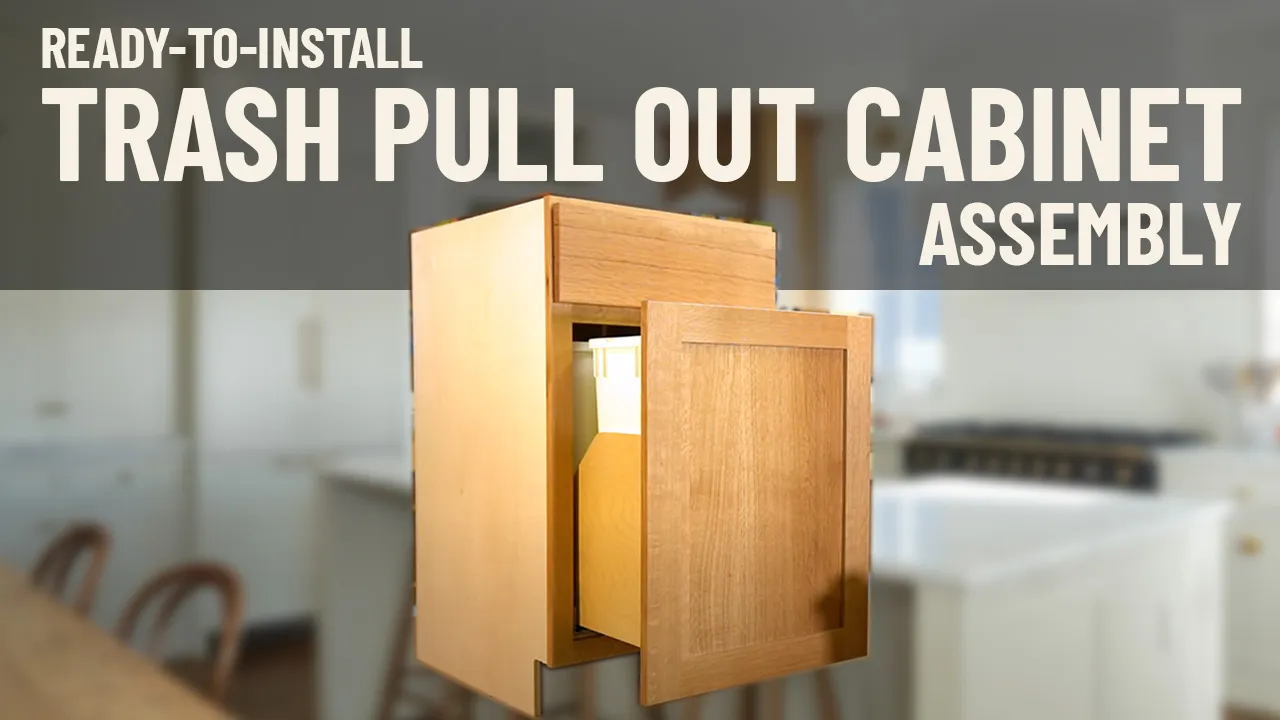
A pull-out trash bin is a container that slides in and out of a cabinet. It stays hidden when not in use. You pull it out to throw trash, then push it back inside. This keeps your room clean and free from bad smells.
These bins come in many sizes. Some fit small spaces, others are bigger. You can choose the one that fits your needs.
Why Install a Pull-Out Trash Bin in Your Vanity?
- Saves Space: Keeps the trash bin out of sight.
- Keeps Room Clean: Trash is hidden, so the room looks tidy.
- Easy to Use: You just pull the bin out to use it.
- Reduces Smell: Trash is inside the cabinet, so less smell spreads.
- Organized Look: Your vanity looks neat and well-arranged.

Credit: www.youtube.com
What You Need Before You Start
Before you begin, gather these tools and materials:
- Pull-out trash bin kit
- Measuring tape
- Pencil
- Drill with drill bits
- Screwdriver
- Screws (usually come with the kit)
- Level (optional)
- Safety glasses
Check your vanity cabinet size first. Measure the width, depth, and height inside. This helps to pick the right bin size. The bin should fit well and slide easily.
Step 1: Remove Everything From the Vanity
Start by emptying your vanity cabinet. Take out all items and clean the inside. Make sure there is no dust or dirt. This makes installation easier and cleaner.
Step 2: Measure and Mark the Position
Use your measuring tape to find the best spot. Usually, pull-out bins go on one side of the cabinet. Mark the spot with a pencil. Check the bin size and where it will slide in and out.
Make sure there is enough space for the bin to move freely. The rails and bin should not hit other objects inside.
Step 3: Install the Sliding Rails
Most pull-out bins come with sliding rails. These rails let the bin move smoothly. Take the rails and place them where you marked.
Use a level to keep the rails straight. Mark the screw holes on the cabinet floor or sides. Drill small holes for the screws. Then, screw the rails in place.
Make sure the rails are tight and do not move. Loose rails will cause problems later.
Step 4: Attach the Bin to the Rails
Next, attach the bin to the rails. Some bins click in place, others need screws. Follow the instructions that come with your bin kit.
Check that the bin slides in and out easily. Pull it all the way out and push it back in. It should move smoothly without sticking.
Step 5: Test the Pull-Out Bin
After installation, test the bin several times. Open and close it slowly. Check for any problems like sticking or noise.
If the bin does not slide well, check the rails. Adjust or tighten screws if needed. Make sure the bin stays stable inside the cabinet.
Tips for Best Results
- Choose a bin size that fits your daily trash needs.
- Use bins with lids to reduce smell.
- Keep the cabinet clean to avoid dirt build-up on rails.
- If your cabinet floor is uneven, use shims to level the rails.
- Wear safety glasses when drilling to protect your eyes.

Credit: www.cabinetjoint.com
Common Problems and How to Fix Them
| Problem | Cause | Solution |
|---|---|---|
| Bin won’t slide smoothly | Rails not level or screws loose | Check and tighten screws; adjust rails level |
| Bin hits cabinet walls | Wrong bin size or wrong position | Choose smaller bin or reposition rails |
| Bin falls out when pulled | Not attached properly to rails | Secure bin firmly; check attachment points |
| Unpleasant smell inside cabinet | Trash not sealed or lid missing | Use bins with lids; empty trash often |
Cleaning and Maintenance
Keep your pull-out trash bin clean. Empty trash often to avoid smell. Wipe the bin and cabinet inside with a damp cloth.
Check the rails regularly. Clean any dust or dirt. This helps the bin slide smoothly. If rails get rusty, clean or replace them.
Remember, a clean bin means a clean and fresh room.
Final Thoughts
Installing a pull-out trash bin in your vanity is simple. It makes your room look neat and organized. You save space and keep trash hidden.
Follow the steps carefully. Use the right tools and measure your space. Take your time to install the rails and bin correctly.
With a pull-out trash bin, your vanity stays tidy every day. It is a small change that makes a big difference.
Now, you can enjoy a cleaner and more organized vanity space.
Frequently Asked Questions
How Do I Choose A Pull-out Trash Bin?
Measure your vanity space. Check bin capacity and material. Ensure it fits.
What Tools Are Needed To Install A Trash Bin?
You need a drill, screws, screwdriver, and measuring tape. Basic tools for DIY.
Can I Install A Trash Bin In Any Vanity?
Yes, if there’s enough space. Measure first to ensure a proper fit.
How Much Time Does Installation Take?
Usually, it takes about 30 minutes. Simple and quick process.

