17 min read
Are you planning to give your bathroom a stylish update? The placement of your tub filler can make all the difference.
Imagine a soothing bath, with water gracefully flowing from the perfect spot, creating a serene escape right in your home. This isn’t just about aesthetics; it’s about functionality and comfort. The right tub filler placement can enhance your bathing experience and transform your bathroom into a luxurious sanctuary.
But how do you decide where it should go? Don’t worry, you’re about to discover the secrets that professionals use to achieve that perfect balance. Stay with us, and by the end of this guide, you’ll feel confident in making the best choice for your space.
Choosing The Right Tub Filler
Picking the right tub filler is important for your bathroom. It controls water flow and adds style.
Think about how you use your tub and what fits your space best. This guide helps you decide.
Types Of Tub Fillers
Tub fillers come in different types. Each type fits different tub styles and installation needs.
- Wall-Mounted: Attached to the wall above the tub.
- Deck-Mounted: Installed on the tub’s edge or deck.
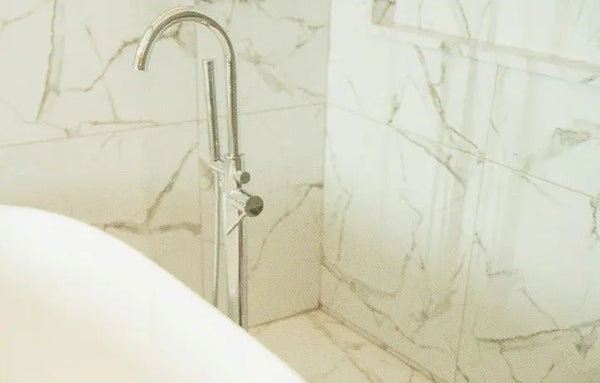
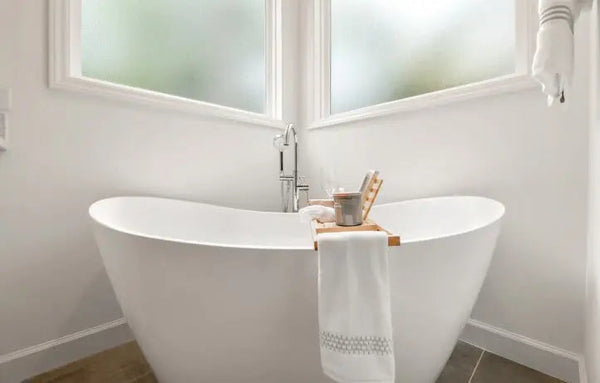
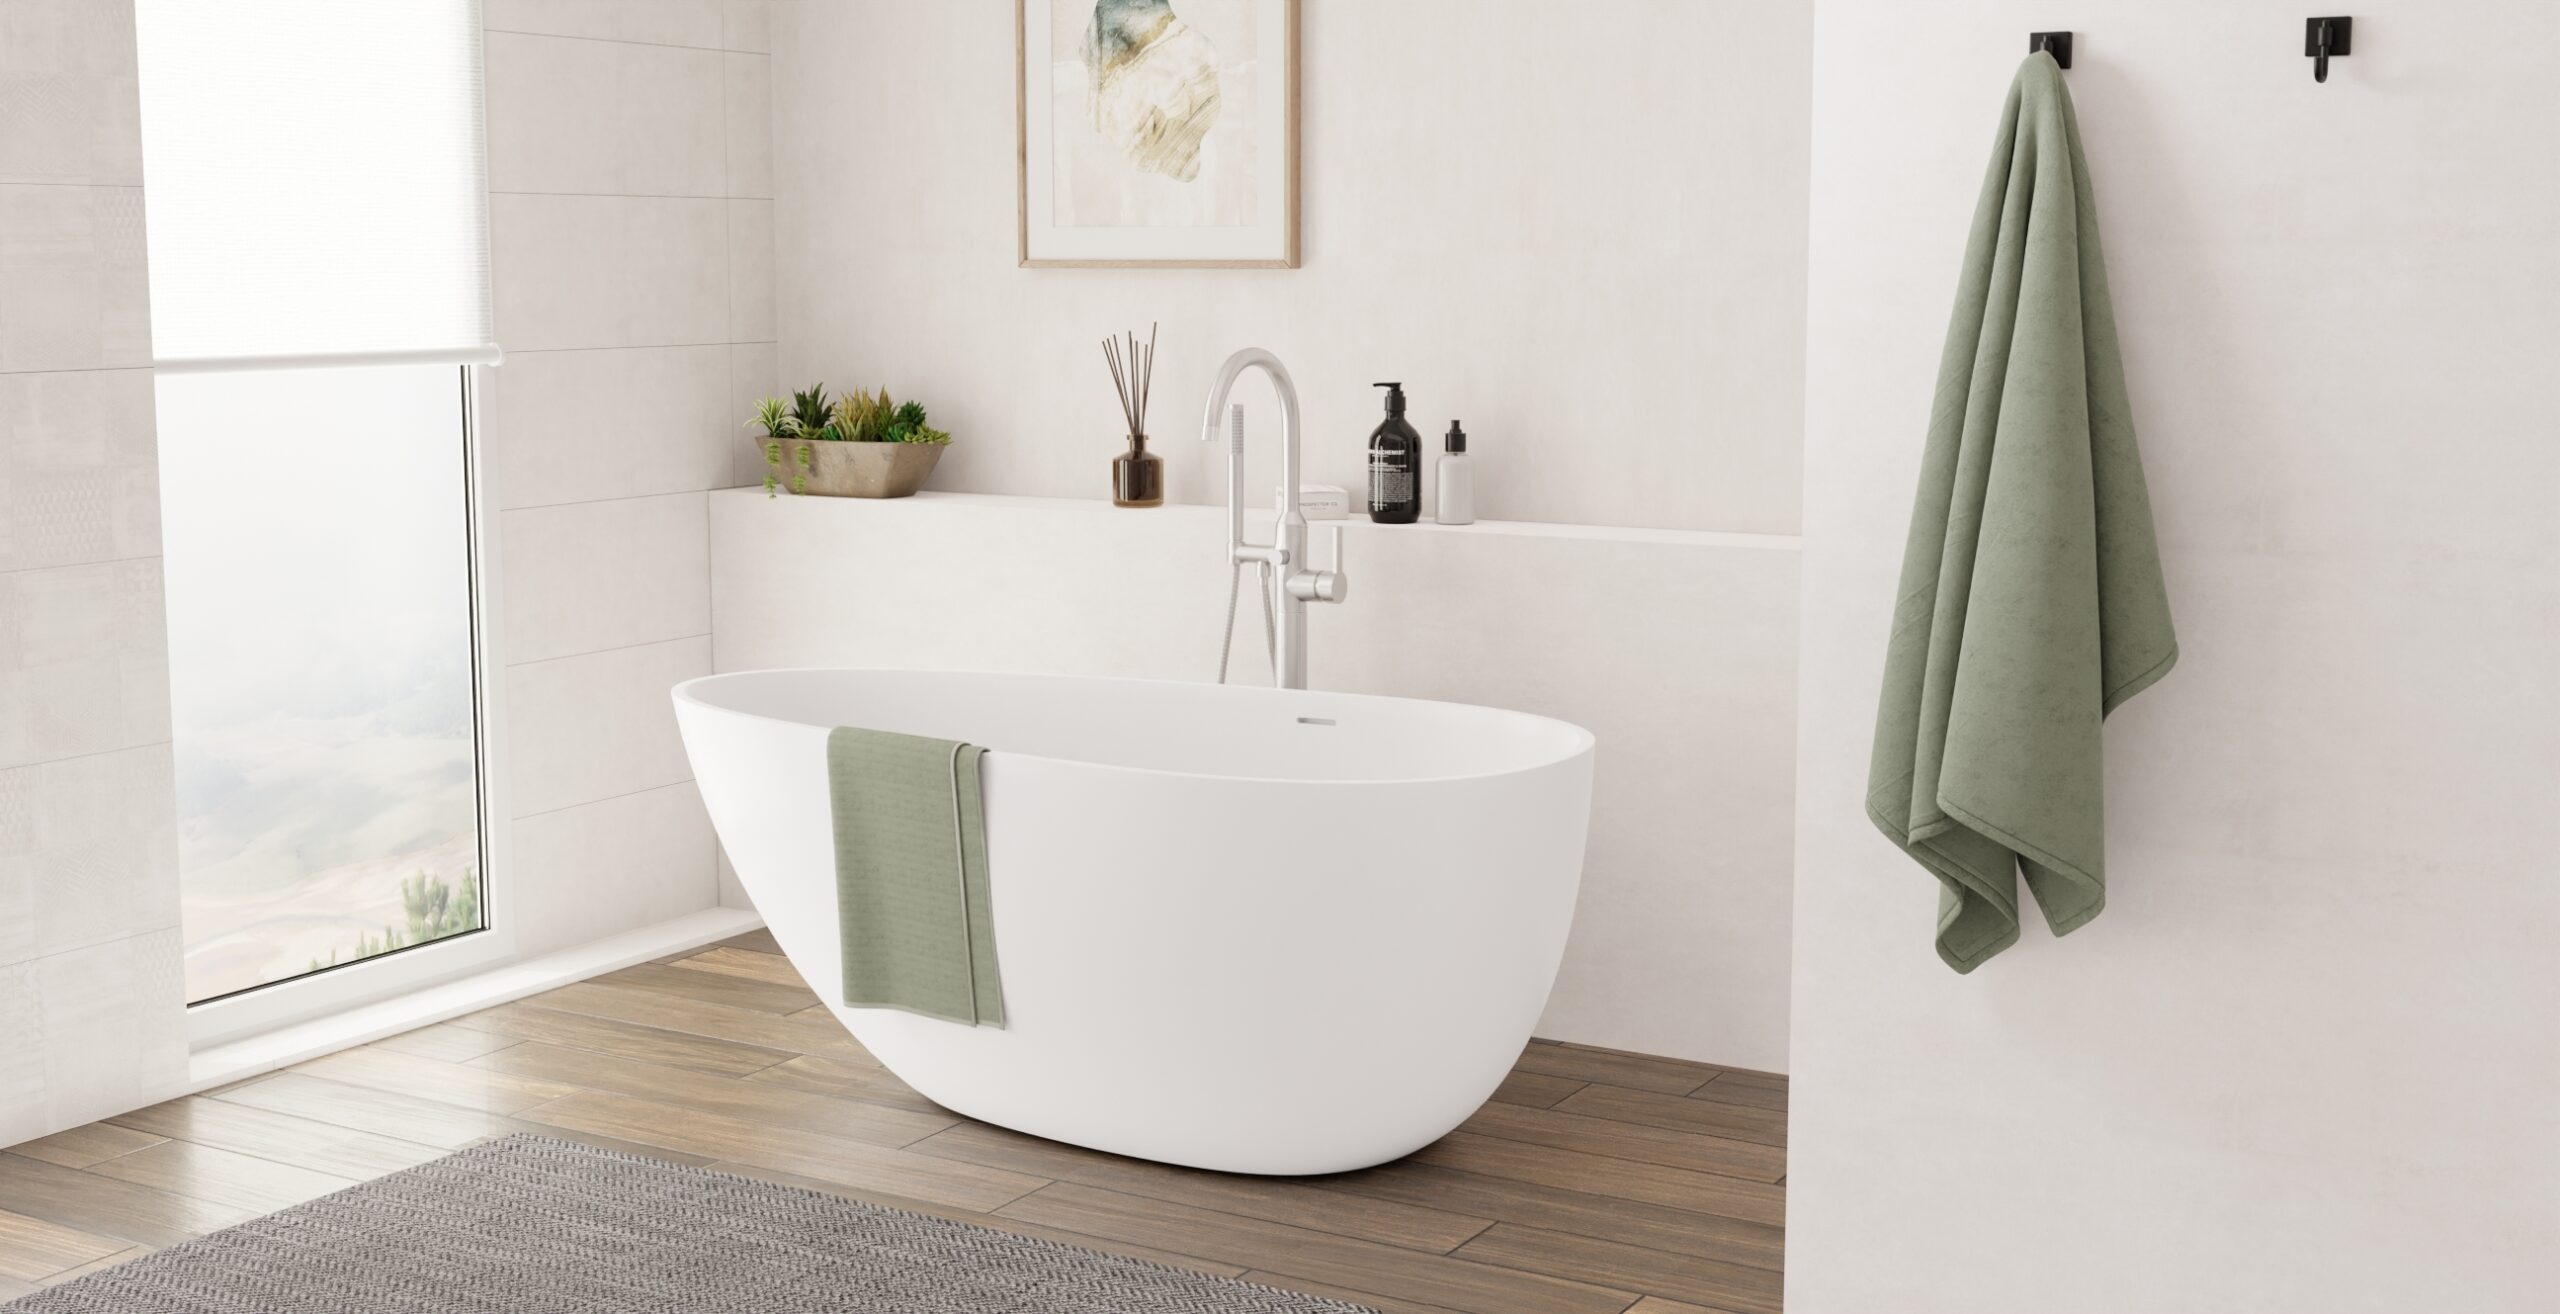
- Freestanding: Stands on the floor next to the tub.
Choose a type that works with your tub design and bathroom layout.
Material Options
Tub fillers come in many materials. Each material affects durability and look.
- Brass: Strong and resists rust well.
- Stainless Steel: Modern look and very durable.
- Chrome: Shiny finish, easy to clean.
- Bronze: Offers a warm, classic look.
Pick a material that fits your style and lasts a long time.
Style Considerations
Your tub filler should match your bathroom’s style. It adds to the room’s overall look.
- Modern: Sleek lines and simple shapes work well.
- Traditional: Detailed designs and classic finishes fit better.
- Industrial: Matte or brushed metals suit this style.
- Transitional: Mix of old and new looks.
Think about your bathroom’s theme before choosing a style.

Credit: www.luxuryfreestandingtubs.com
Measuring For Placement
Measuring for tub filler placement is key to a comfortable bath. Proper placement helps you use the faucet easily and safely.
Take accurate measurements before installation. This ensures the tub filler fits well and works smoothly.
Determining Ideal Height
Set the tub filler height to reach the tub without splashing. The height depends on the tub type and user needs.
Measure from the tub floor to the spout. A common height is 6 to 10 inches above the tub rim.
- Too low can cause water to hit the tub edge hard
- Too high may create splashes
- Consider user height for comfort
Distance From Tub Edge
Place the tub filler close enough to the tub edge for easy reach. It should not be too far or too close.
Measure the distance from the tub edge to the faucet base. Usually, 2 to 4 inches works well.
- Too far makes it hard to reach controls
- Too close limits installation space
- Check the tub shape before measuring
Clearance And Accessibility
Ensure enough space around the tub filler for easy use and cleaning. Clear access helps maintain the faucet.
Leave at least 2 inches of clearance from walls or other fixtures. This prevents damage and allows smooth operation.
- Check handle movement space
- Allow room for cleaning tools
- Consider accessibility for all users
Preparing The Installation Site
Installing a tub filler needs careful site preparation. It ensures a smooth and safe setup.
Check the space, plumbing, and tools before starting the work. This helps avoid delays.
Checking Plumbing Connections
Inspect the water supply lines where the tub filler will connect. Look for leaks or damage.
Make sure hot and cold water pipes are properly placed and within reach of the tub filler.
- Turn off the main water supply before inspection
- Check pipe size matches the tub filler fittings
- Confirm pipes are secured and not loose
- Look for corrosion or old plumbing that may need replacement
Surface Preparation
Clear the area where the tub filler will be installed. Remove dirt, dust, or debris.
Ensure the mounting surface is flat and strong enough to hold the tub filler securely.
- Clean the surface with a cloth and mild cleaner
- Fix any cracks or holes before installation
- Use a level to check the surface flatness
- Make sure the surface is dry before starting
Tools And Materials Needed
Gather all tools and materials before starting the installation. This saves time and trouble.
Having the right tools helps you do the job correctly and safely.
- Adjustable wrench
- Pipe cutter or hacksaw
- Plumber’s tape (Teflon tape)
- Level
- Cleaning cloth
- Sealant or plumber’s putty
- Screwdrivers
- Measuring tape

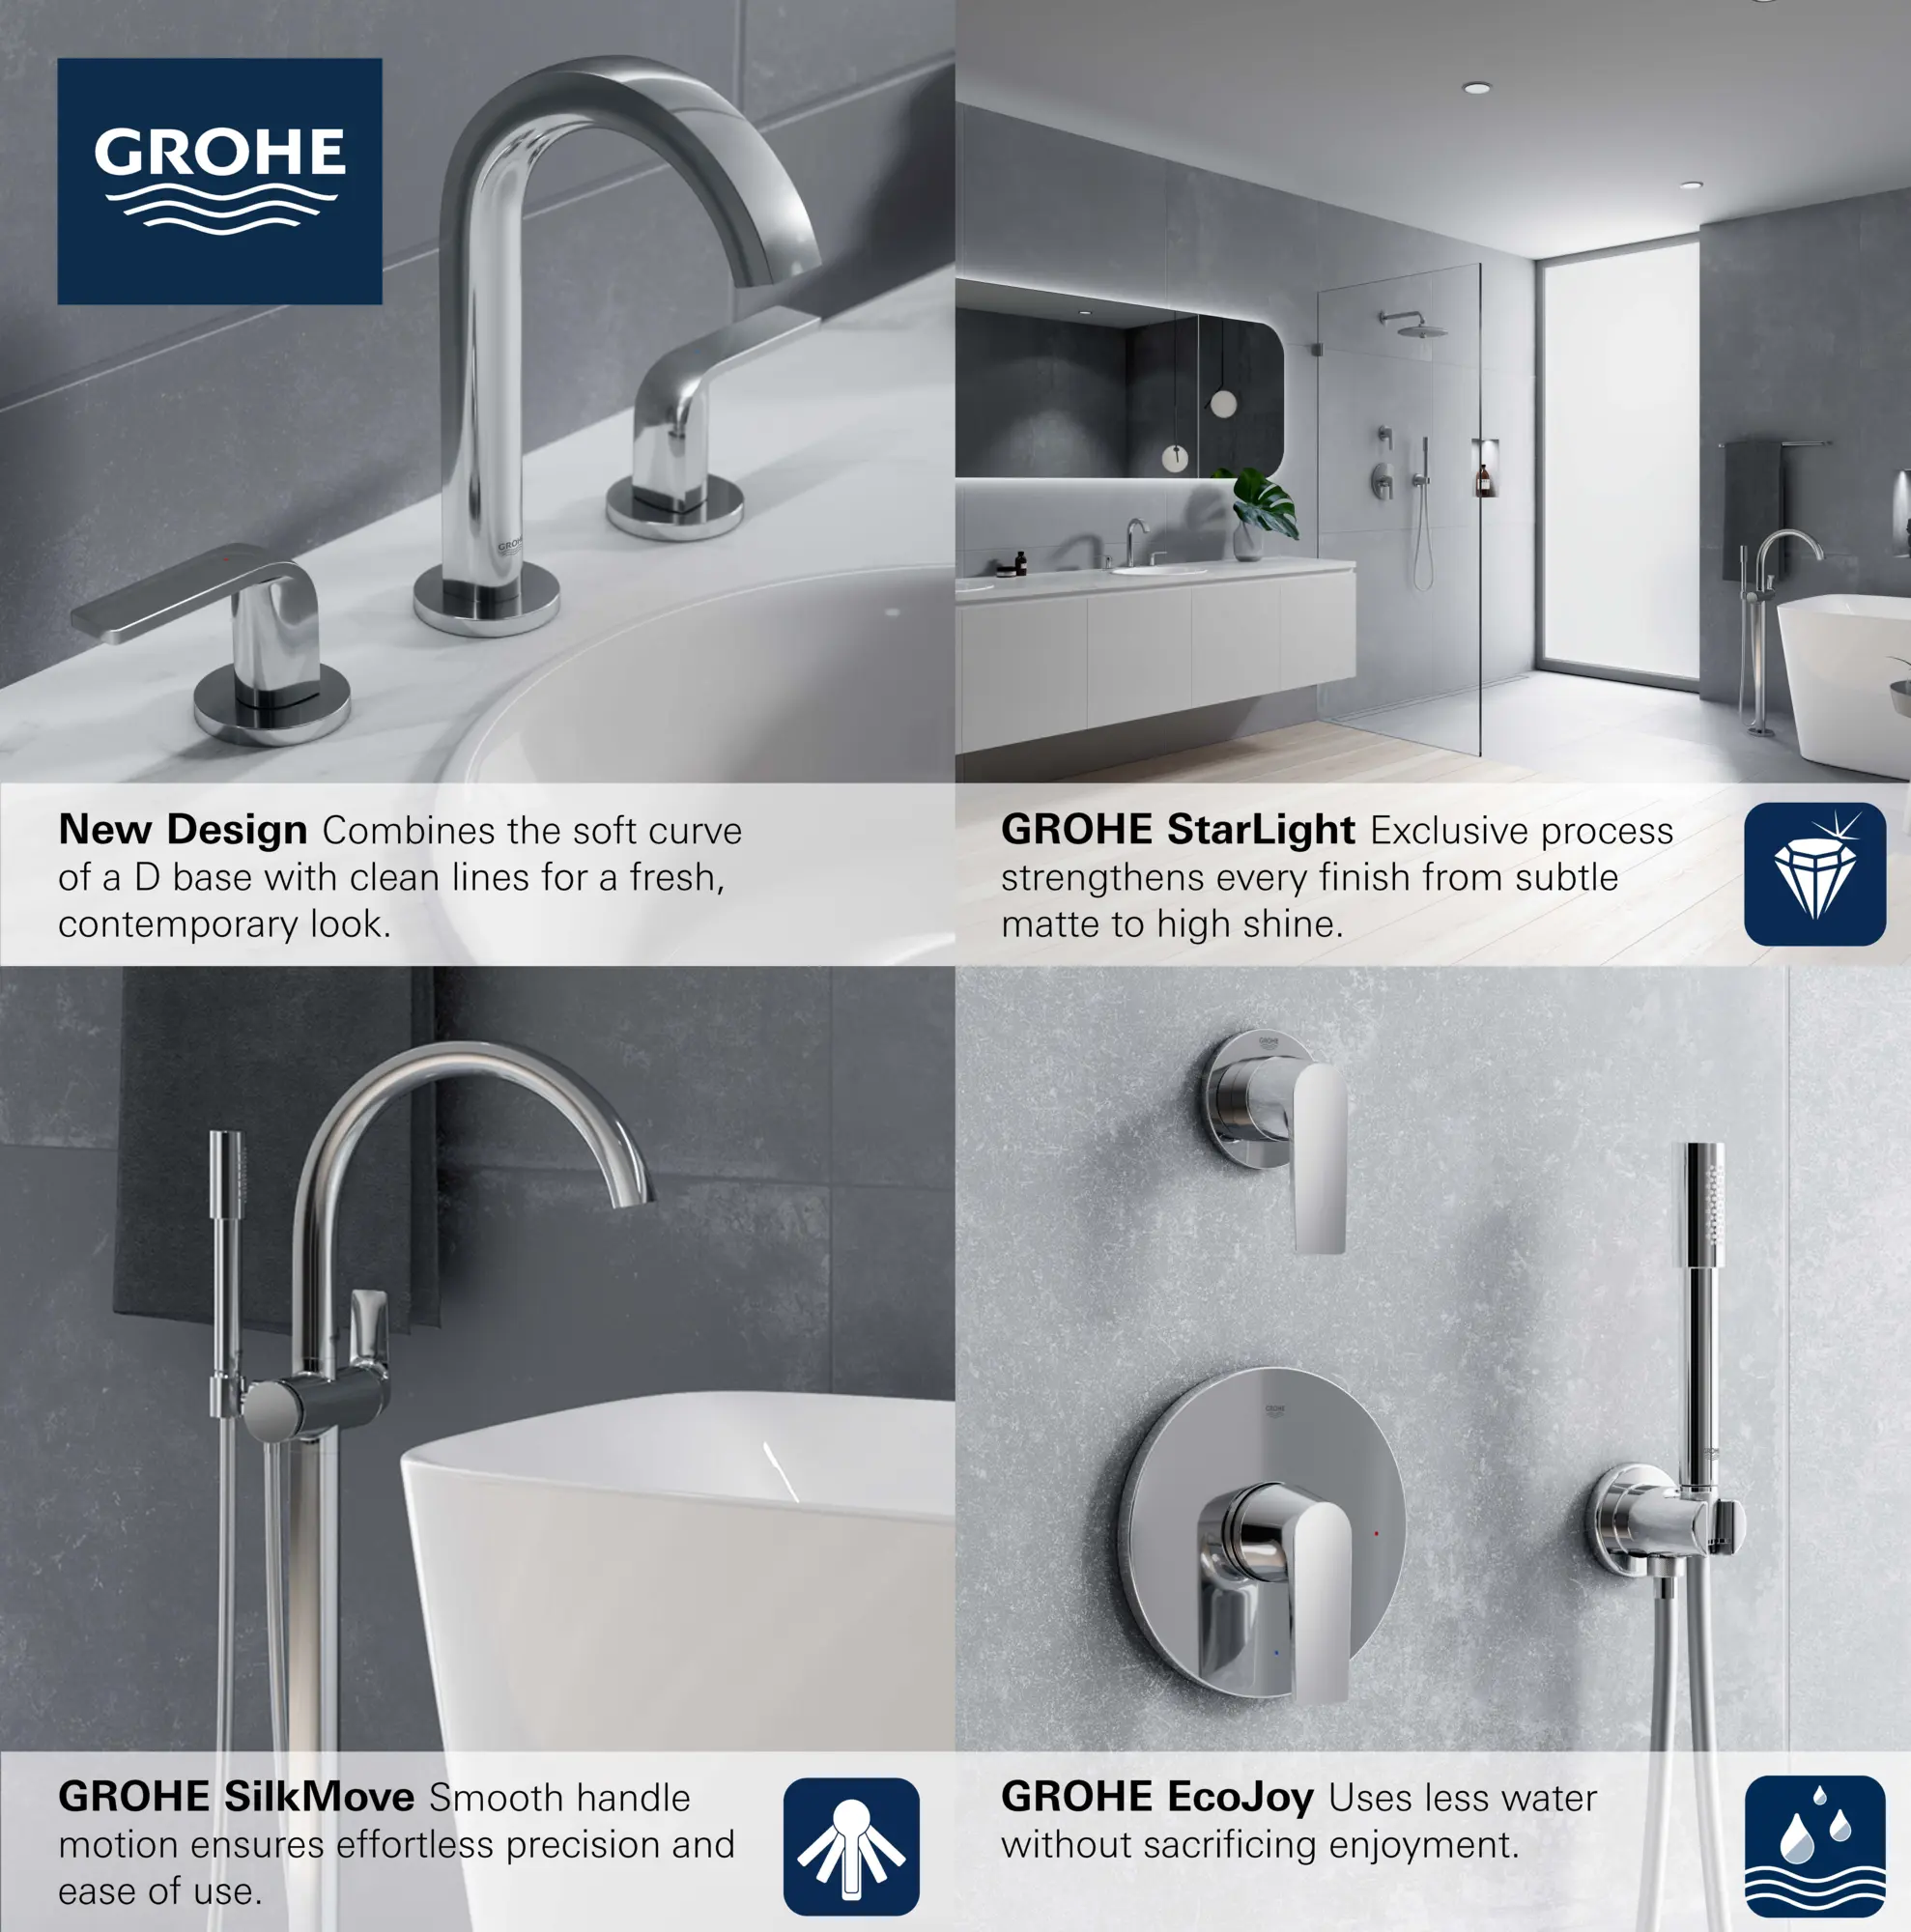
Credit: www.grohe.us
Step-by-step Installation Process
Installing a tub filler requires careful placement and connection. Follow the steps below to ensure your tub filler works well.
This guide breaks down the process into simple parts. Each part helps you install the tub filler safely and correctly.
Mounting The Tub Filler
Start by choosing the right spot for the tub filler on the tub or deck. Make sure the surface is clean and dry before you begin.
Use the mounting hardware that comes with the tub filler. Attach the base securely to avoid leaks and movement.
- Mark the holes where the filler will be mounted
- Drill holes carefully, avoiding damage to the tub
- Insert mounting bolts or screws firmly
- Place the tub filler and tighten all fasteners
Connecting Water Lines
Connect the hot and cold water lines to the tub filler. Use plumber’s tape on threaded connections for a tight seal.
Check the water supply lines for damage before connecting. Secure all fittings to prevent leaks.
- Turn off the main water supply before starting
- Attach flexible hoses or pipes to the filler inlets
- Wrap plumber’s tape around threads for a leak-proof fit
- Tighten connections with a wrench, but do not overtighten
Sealing And Testing
Apply waterproof sealant around the base of the tub filler. This stops water from seeping under the fixture.
Turn on the water supply and test the tub filler. Check for leaks and proper water flow from both hot and cold taps.
- Use silicone sealant around the mounting area
- Allow sealant to dry as directed on the package
- Turn on water and inspect all joints for leaks
- Test water temperature and flow control
Common Installation Mistakes
Installing a tub filler may seem easy. Many people make simple mistakes that cause problems later. Knowing these errors helps you avoid them.
This guide covers common mistakes in tub filler placement. Fixing these issues saves time and money.
Misalignment Issues
One common mistake is placing the tub filler off-center. Misalignment affects water flow and the tub’s look. It can also cause water to splash outside the tub.
Check the tub and filler positions before drilling holes. Use a level to ensure the filler is straight. Mark spots carefully to avoid shifts.
- Measure twice before drilling
- Use a level for straight alignment
- Align filler with tub spout or center
Leaking Connections
Leaks happen when connections are loose or sealed poorly. Water damage can occur behind walls or under floors. Use proper fittings and tighten them well.
Apply plumber’s tape or sealant on threaded parts. Test water flow before finishing installation. Fix any drips right away.
- Tighten all pipe connections securely
- Use plumber’s tape on threaded joints
- Check for leaks before closing walls
Ignoring Manufacturer Guidelines
Every tub filler comes with instructions. Ignoring these can cause poor fit or damage. Follow the guide for correct parts and placement.
Manufacturer tips cover pipe size, height, and clearance. Using the wrong parts may void warranties. Always read and follow the instructions carefully.
- Read all installation instructions first
- Use recommended parts and tools
- Follow height and clearance guidelines
Maintenance Tips For Longevity
Proper care helps your tub filler last longer. Simple maintenance keeps it working well.
Follow easy steps to avoid common problems. Regular checks save time and money.
Regular Cleaning
Clean your tub filler often to stop dirt buildup. Use soft cloths and mild soap.
Avoid harsh cleaners that can damage finishes. Rinse well and dry after cleaning.
- Wipe the spout and handles weekly
- Use a soft brush for hard-to-reach spots
- Remove mineral deposits with vinegar if needed
Checking For Leaks
Look for leaks regularly to prevent water damage. Check connections and seals closely.
Fix leaks early to avoid bigger repairs. Tighten loose parts and replace worn seals.
- Inspect under the tub and around fittings
- Listen for dripping sounds when off
- Watch for water stains or damp spots
Replacing Worn Parts
Replace damaged or old parts to keep the tub filler working well. Use parts made for your model.
Check handles, washers, and cartridges. Worn parts cause leaks and poor water flow.
- Change washers to stop dripping taps
- Replace cartridges for smooth handle movement
- Use manufacturer parts for best fit

Credit: www.luxuryfreestandingtubs.com
Frequently Asked Questions
Where Should I Place A Tub Filler For Convenience?
Place the tub filler near the tub’s edge for easy reach. Ensure it’s positioned to avoid splashing and allows comfortable water control. Optimal placement enhances user comfort and safety during bathing.
How High Should A Tub Filler Be Installed?
Install the tub filler about 6 to 8 inches above the tub rim. This height prevents water from splashing outside while providing easy access to water flow control.
Can Tub Filler Placement Affect Water Flow Efficiency?
Yes, proper placement ensures smooth water flow and reduces splashing. Position the filler where water falls directly into the tub to maximize efficiency and comfort.
Should Tub Fillers Be Installed On The Wall Or Deck?
Both options work; choose based on tub design and space. Wall-mounted fillers save deck space, while deck-mounted ones offer easier access and installation flexibility.
Conclusion
Choosing the right tub filler placement makes a big difference. It helps water flow smoothly and keeps your bathroom neat. Think about space, comfort, and style when deciding where to put it. Proper placement saves time and avoids future repairs.
A good spot means easier use every day. Take your time to plan well. This guide helps you make smart choices for your tub filler. Enjoy a safer, more comfortable bath with the right setup.


